Photo Missions
Photo Missions by Level
Progress step by step from beginner to advanced. Complete missions and use AI analysis to check your skills.
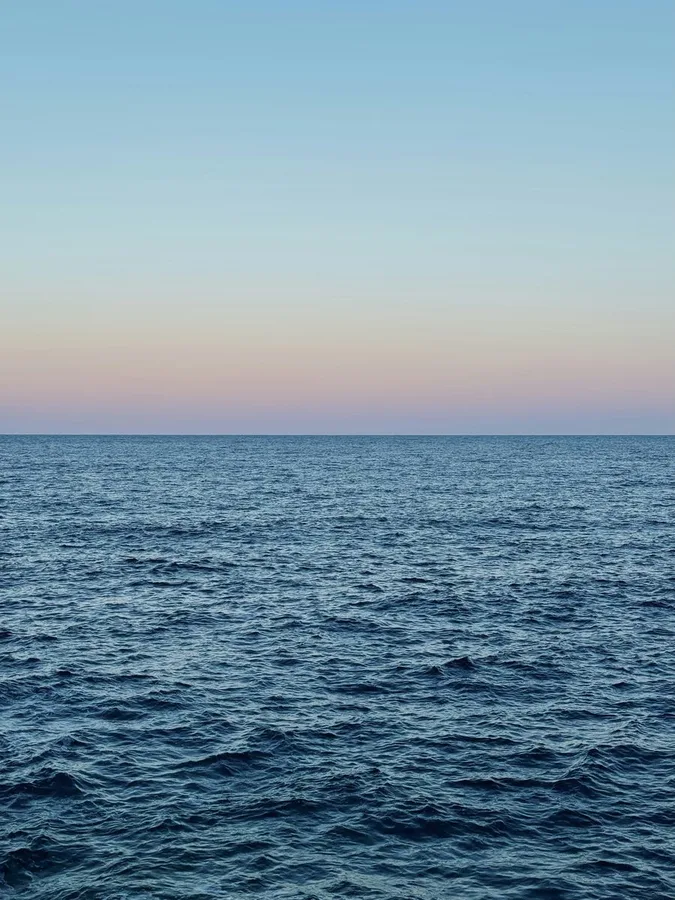
Straighten the Horizon
Frame the shot so the horizon or waterline is perfectly level — not tilted.
Turn on your camera's grid lines to make leveling much easier.
Place the horizon on the upper or lower third line to complete a rule-of-thirds composition.
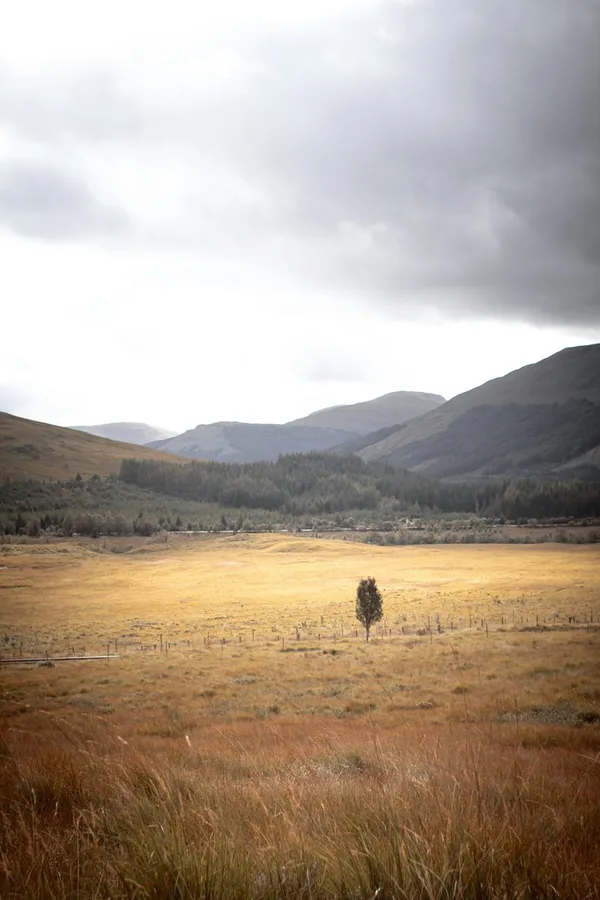
Rule of Thirds
Place your subject at the intersection points of a grid dividing the frame into thirds, both horizontally and vertically.
For portraits, align the subject's eyes with the upper intersection points.
For landscapes, place the horizon on the upper or lower third line.
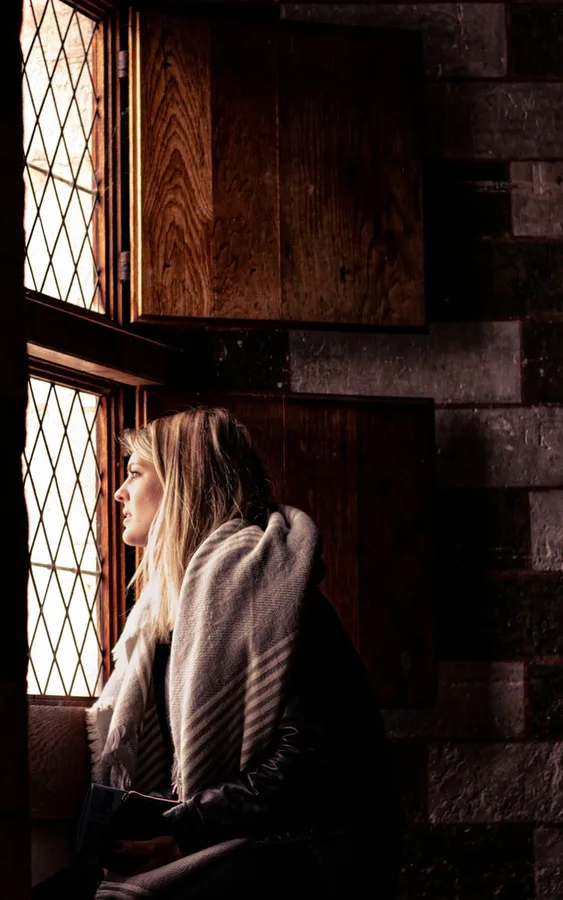
Window Natural Light
Photograph a still life or person using only window light — turn off all artificial lighting.
Overcast days produce the softest, most flattering window light.
Position your subject at a 45° angle to the window for dimensional side lighting.
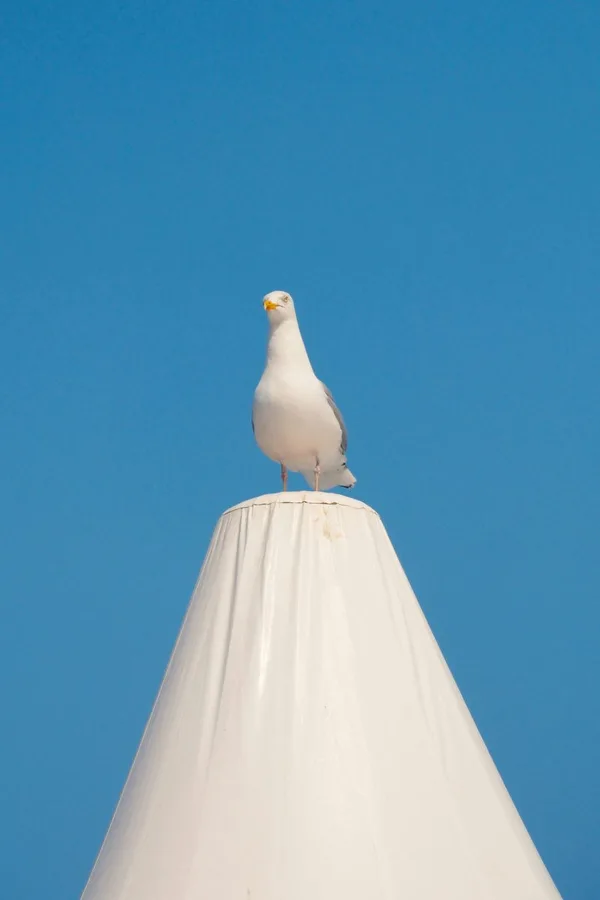
Simplify the Background
Find a clean background that hides everything except the main subject.
Try using the sky, a white wall, or a solid-color cloth as your background.
Moving closer to your subject naturally simplifies the background.
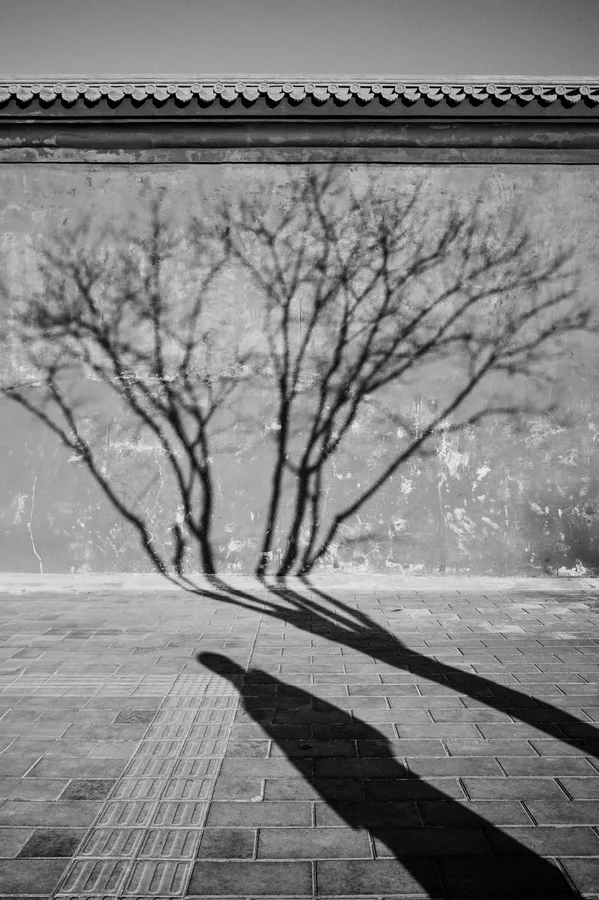
Shadow as Subject
Make the shadow itself — not the object — the star of the photo.
On a sunny day, morning and afternoon low-angle sunlight creates long shadows.
Try a top-down (bird's eye) angle to emphasize shadow patterns.
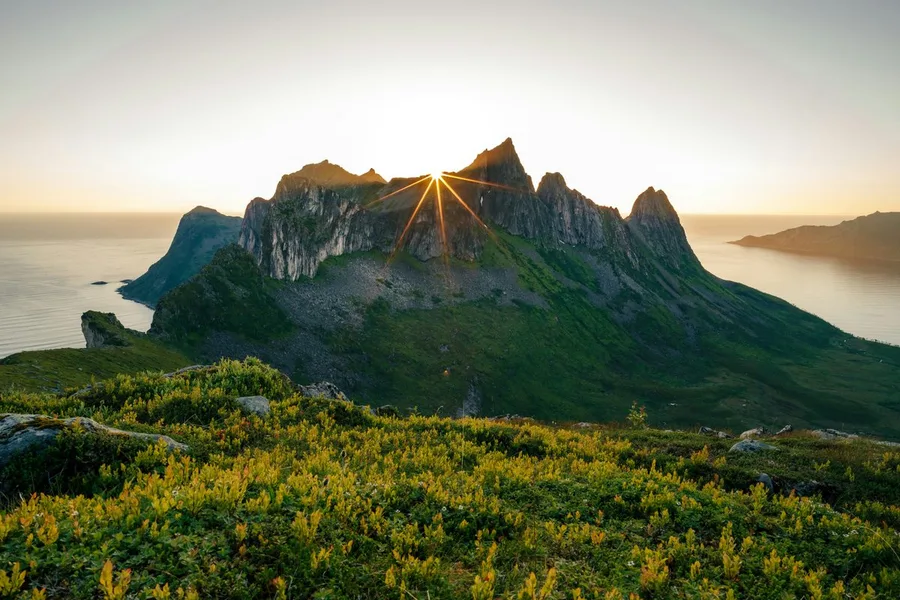
Golden Hour Challenge
Shoot outdoors during the golden hour — 1 hour after sunrise or 1 hour before sunset.
Check the sunset time in a weather app and arrive 30 minutes early.
Turn your subject toward the light to fill their face with warm, golden tones.
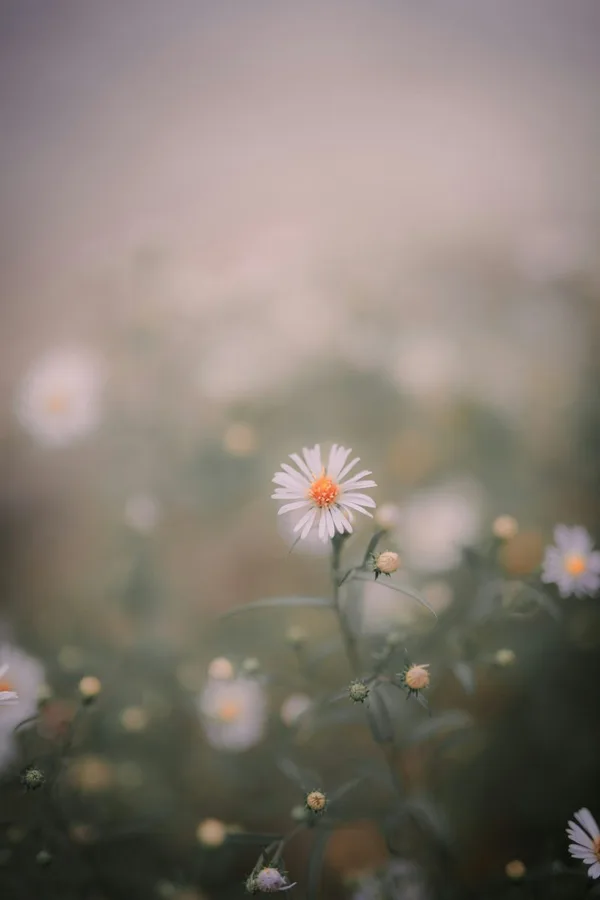
Bokeh (Shallow Depth of Field)
Blur the background softly while keeping only the subject sharp.
Set the aperture to its widest opening (f/1.8–f/2.8).
The greater the distance between subject and background, the stronger the bokeh.
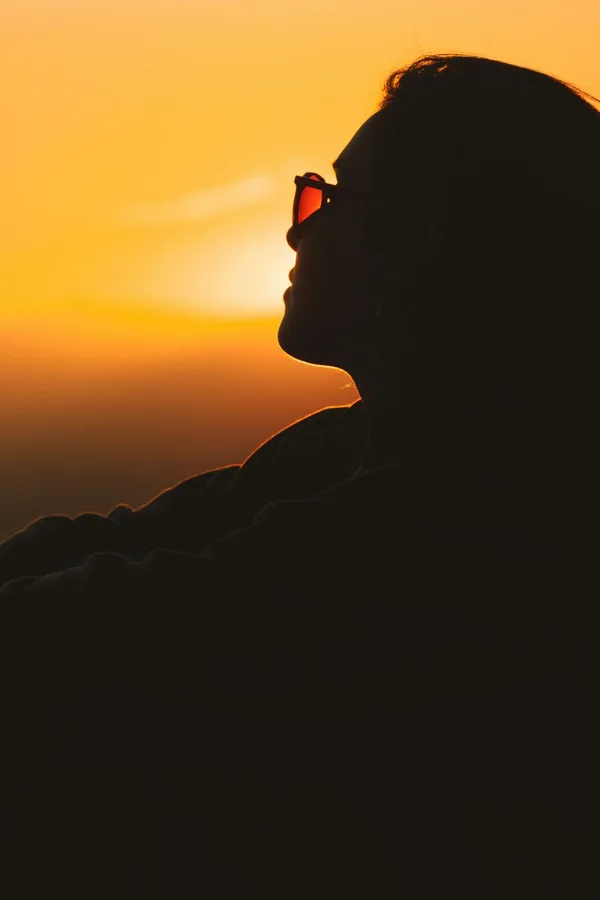
Backlit Silhouette
Place a strong light source behind your subject to create a silhouette.
Exposing for the sky (background) will automatically darken the subject.
A profile view makes silhouettes easiest to read.
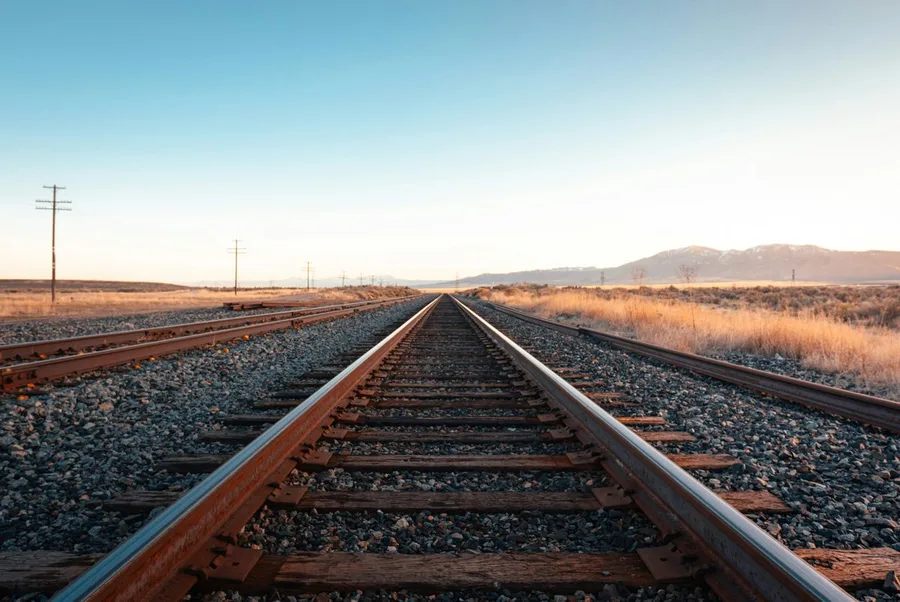
Leading Lines
Use roads, train tracks, stairs, or railings to guide the viewer's eye into the frame.
Diagonal leading lines feel more dynamic than horizontal ones.
Compose so the lines converge toward a vanishing point in the distance to maximize depth.
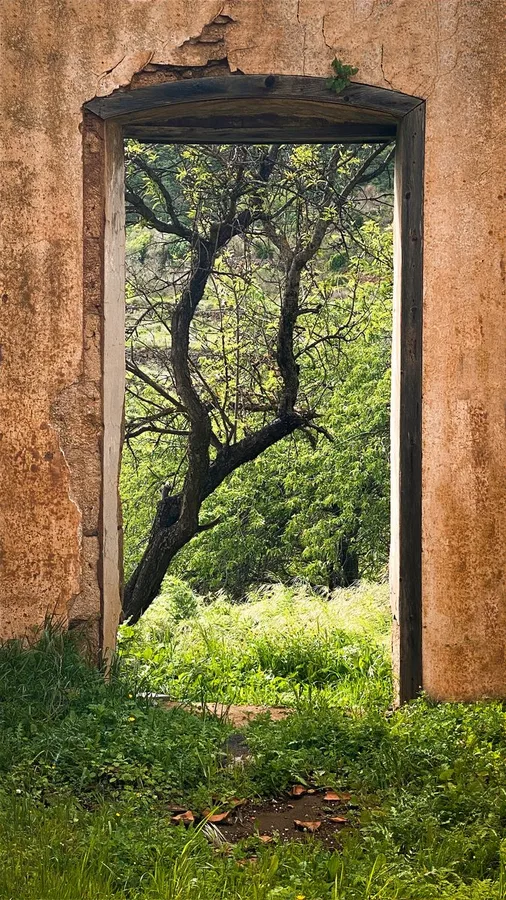
Natural Framing
Use arches, doorways, or branches to frame your subject like a picture frame.
A slightly blurry foreground frame can actually enhance focus on the main subject.
Try centering your subject within the natural frame.
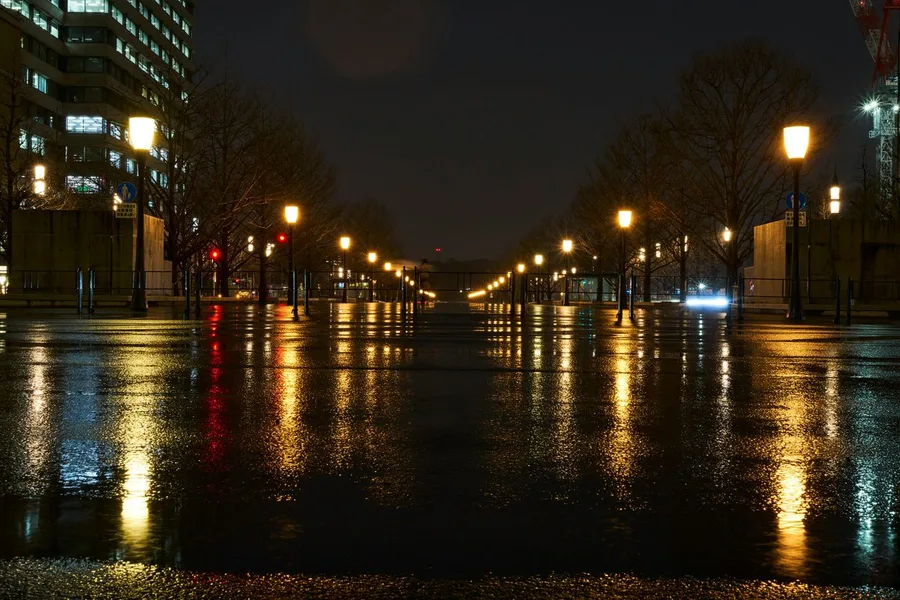
Nightscape Reflection
Photograph a nightscape reflected in wet pavement after rain or in calm water.
Get the camera as low as possible to maximize the reflection area.
1–2 hours after rain is the golden time for the clearest reflections.
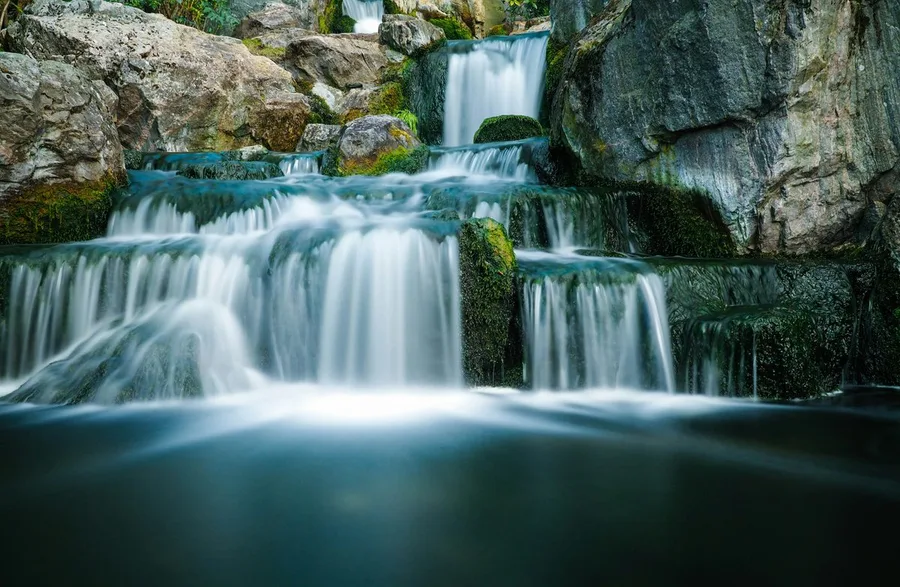
Long Exposure Water Blur
Use a tripod to capture waterfalls, rivers, or waves as a smooth silky flow.
A shutter speed between 1/4s and 2s renders water as a smooth blur.
A tripod is essential — even slight movement will ruin the shot. Use the self-timer.
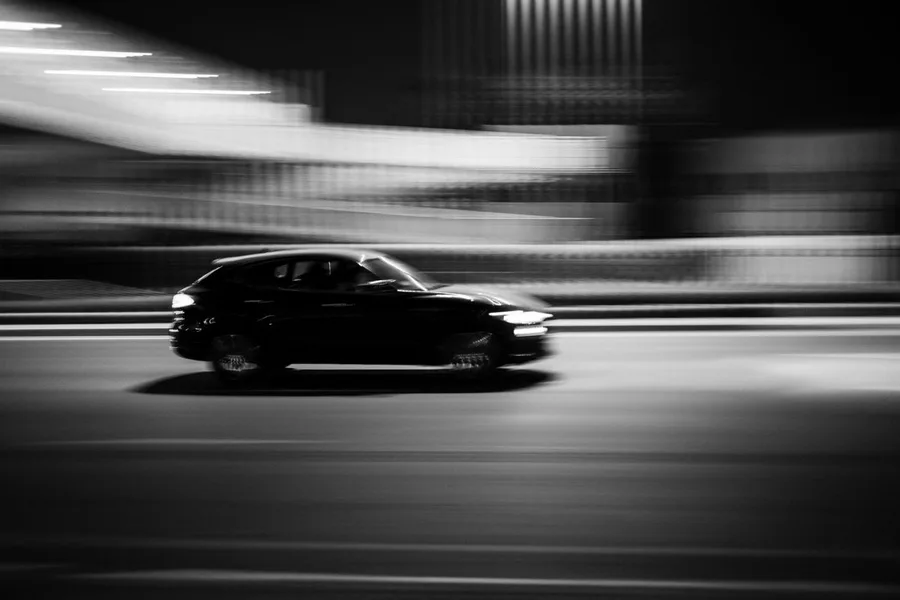
Panning Shot
Track a moving subject and fire the shutter to blur only the background.
A shutter speed of 1/30s–1/60s produces the best panning effect.
The key is to follow the subject smoothly at the same speed.

Macro Water Drop
Capture a scene reflected inside a water droplet using macro photography.
Place a bright, colorful flower or background behind the droplet for a vivid reflection.
A tripod is essential — even the tiniest movement will throw off focus.
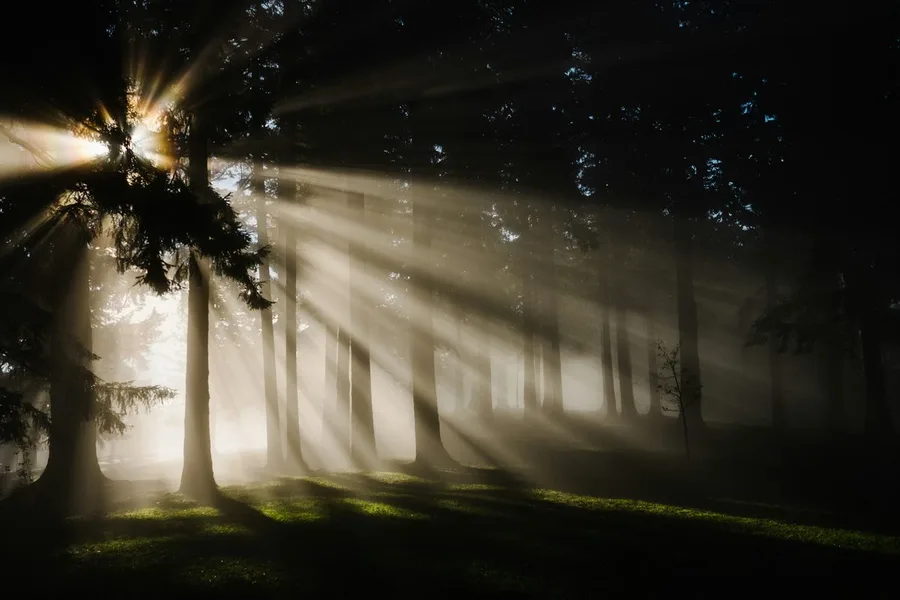
Capture Light Rays
Dramatically capture light beams passing through mist, dust, or smoke.
Shoot into a misty forest backlit in the morning to create natural light rays.
Light coming through window blinds can also create light rays indoors.
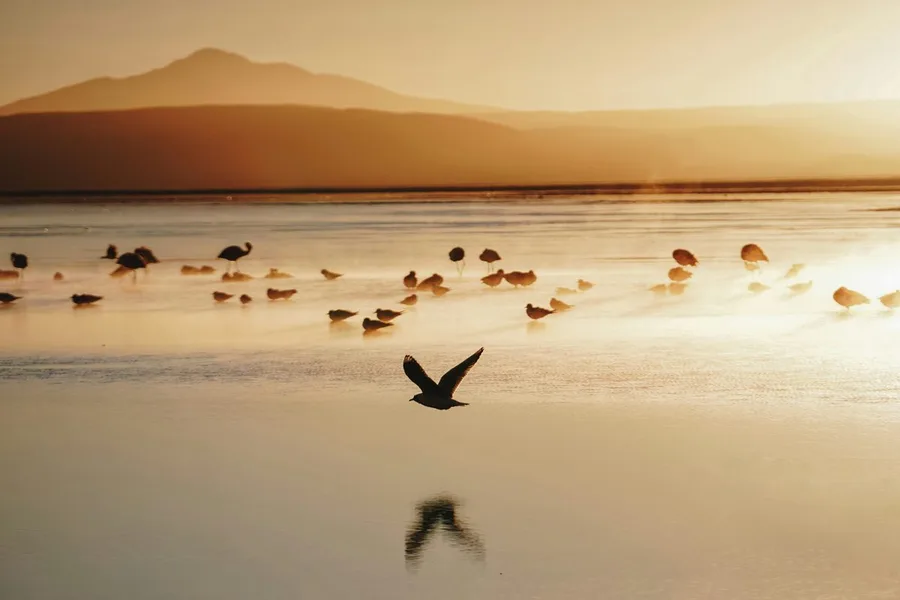
Golden Hour Water Reflection
Capture the perfect moment when sunrise or sunset light is reflected on water.
Arrive 30 minutes before sunrise to compose your shot in advance.
A windless day keeps the surface mirror-calm for the sharpest reflections.
How to Participate
Pick a mission you like
Take a photo using the tips as a guide
Upload it to the AI photo analysis page
Check your progress with composition, lens, and settings feedback