Reading Light
When and Where You Shoot Is Everything
The same location, the same subject — light changes everything. Reading the direction and time of light is the key to becoming an intermediate photographer.
Golden Hour — The Most Beautiful Light of the Day
The 30 minutes just after sunrise and just before sunset. The sun is low, spreading long, warm light. The same location shoots completely differently at this time.
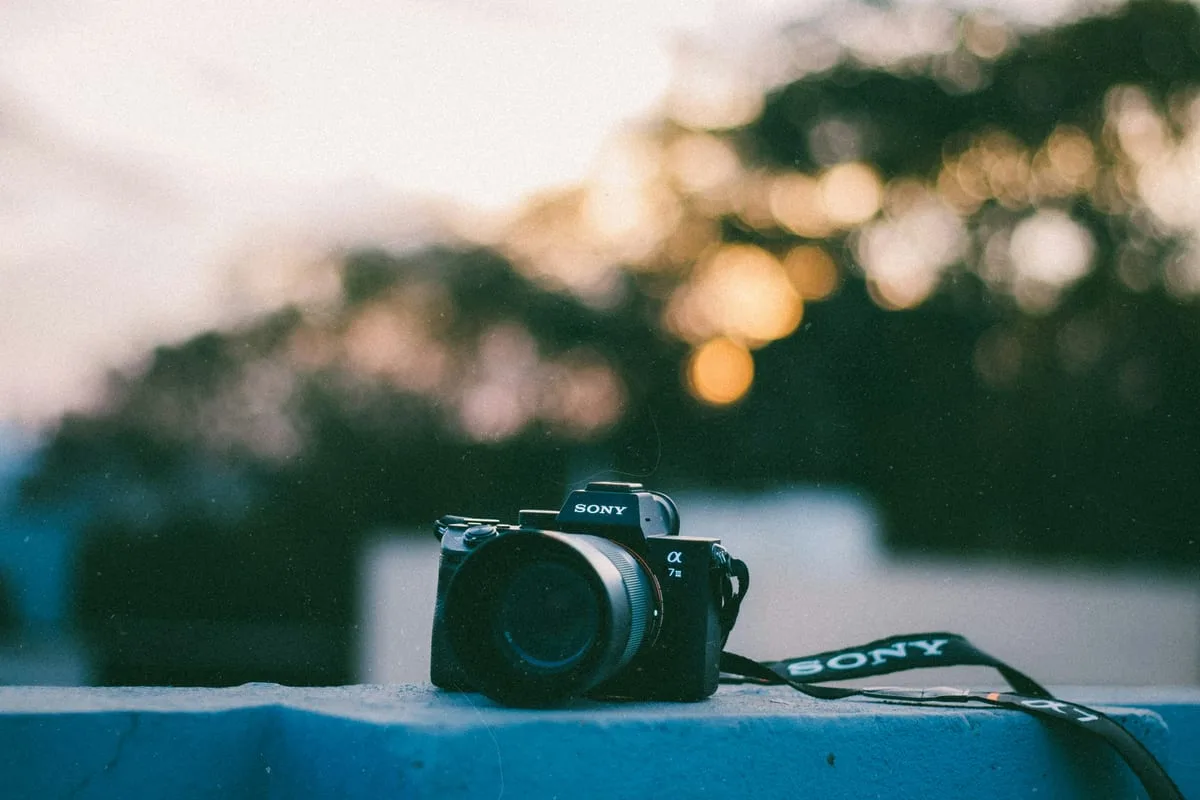
Golden Hour Light
Warm golden light from a low sun angle — both subject and background transform dramatically
🌄
Sunrise Golden Hour
30 min after sunrise
Fresh · crisp
🌇
Sunset Golden Hour
30 min before sunset
Warm · romantic
Preparation tip: Check sunrise and sunset times in your weather app. Arriving 15 minutes early to set up your framing means you won't miss the light when it comes in.
Light Direction — Just 4 to Know
Where the light comes from completely changes the mood of your photo. Just getting in the habit of checking sun position before shooting will transform your images.
Front Light
Front LightLight comes from behind the camera toward the subject. Evenly bright and sharp, but lacks depth.
Product photography, sharp landscape shots
Subjects squint, looks flat
Backlight
Back LightLight comes from behind the subject. Powerful for silhouettes, hair light, and atmospheric photos.
Dramatic silhouettes, golden hour hair light
Hard to meter correctly, potential for flare
Side Light
Side LightLight from the side creates contrast between light and shadow. Most effective for bringing out dimension and texture.
Portrait depth, emphasizing architecture and texture
One side of the face can go dark
Diffused Light
Diffused LightLike an overcast day or shade — soft light from all directions. No shadows, ideal for portrait photography.
Portrait skin, food and product photography
Lacks dramatic feel
Light Quality — Hard vs. Soft
Light quality is just as important as direction.
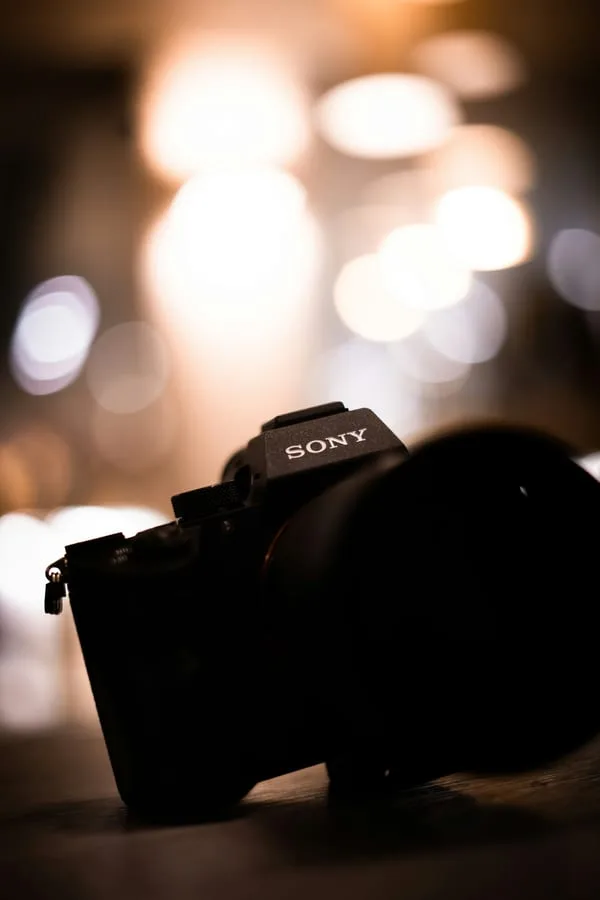
Diffused light — light coming from multiple directions, softly wrapping without harsh shadows
⚡ Hard Light
Strong shadows, high contrast. Clear sky at noon, direct sunlight.
✓ Dramatic, intense feel
✗ Difficult to flatter portrait skin
☁️ Soft Light
No harsh shadows, even brightness. Overcast day, shade, near a window.
✓ Ideal for portrait skin, food and product photography
✗ Can look flat
The overcast paradox: On a cloudy day, the clouds act as a giant softbox. For portraits, food, and flowers, overcast days are often better than bright sunny ones.
Light Quality by Time of Day
The same location produces completely different photos depending on the time. More ★ = better light for photography.
Warm golden light, long soft shadows
Clean, sharp light, moderate shadows
Strong shadows and high contrast, not ideal for landscapes
Light gradually warming
The most beautiful light of the day — perfect for portraits and landscapes
Cool blue light, excellent for night scenes and cityscapes
expand_circle_downWant to know more — Blue Hour, Artificial Light, ReflectorsIntermediate+
Blue Hour
15–30 minutes after sunset, the sky turns a deep blue. Especially great for urban night photography. Aim for the balanced moment when city lights are on but the sky hasn't gone fully dark. Tripod essential, exposure times get longer.
Using Artificial Light
Café lighting, streetlights, neon signs — artificial light is a great light source too. Set white balance manually to capture the intended color. Fluorescent lights give white; tungsten bulbs give warm orange.
Reflectors
For backlit portraits, bouncing light onto the face with a white reflector creates natural fill light. No reflector? A white A4 sheet or white shirt works too. Silver side reflects more intensely; white side reflects more softly.
TRY THIS TODAY
Shoot the same spot at morning, noon, and evening — 1 photo each
Check: If the same location looks completely different in all three shots, you've done it. That's what reading light means.
BeginCAMERA
AI analyzes the light in your photo
AI estimates the light direction, time of day, and color temperature, then suggests ways to use better light.
add_a_photoAnalyze LightUp Next
FINAL STEP
STEP 06 · First Practice Mission
Last updated: April 2025
Photos: Unsplash (CC0) — Kabir Kotwal, Loris Marie