Capturing Urban Moments —
Street Photography
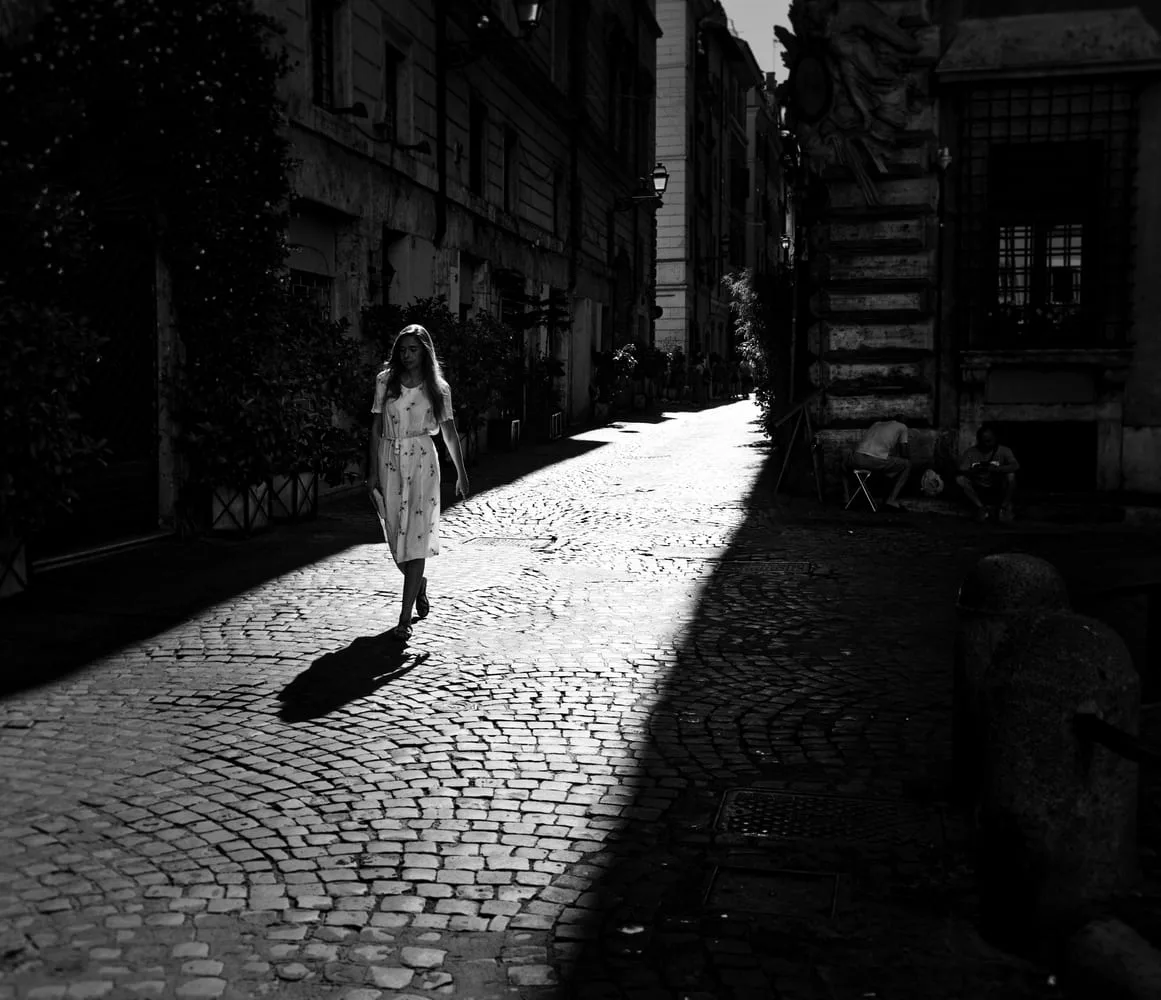
A scene you find while walking with no plan. A prepared eye creates the decisive moment.
Have you wondered?
"What do I do if someone objects to being photographed on the street?"
In Korea, photography in public spaces is generally permitted by law. However, portrait rights infringement (commercial use, defamation) is a separate matter. If someone objects, apologize first and offer to delete the photo — that resolves most situations. Don't respond aggressively. Experienced street photographers emphasize being confident and natural — acting secretive draws more suspicion.
"Do street photos have to be in black and white?"
Not at all. Black and white is emphasized because it focuses attention on light, composition, and the decisive moment without the distraction of color. Color street photography has a great tradition too — Vivian Maier shot a lot in color. Black and white can always be applied in post-processing, so start by focusing on catching the moment without worrying about color.
What Makes Street Photography Compelling
All it takes to start is picking up a camera and heading into the city.
0.1-Second Decisions
You decide in 0.1 seconds whether to shoot or not. The faster this reflexive judgment becomes, the quicker your eye gets.
The City Is Your Studio
No tripod, no lighting needed. Just a camera and the time it takes to walk.
Recording Time
An ordinary alley you photograph today becomes a historical record 20 years from now.
Is This the Right Genre for You?
If 3 or more apply, street photography is a great fit.
You enjoy walking in the city and find it interesting to observe people
You're comfortable moving spontaneously without a plan
You find the contrast between light and shadow beautiful
Carrying a camera around doesn't feel like a burden
You're OK with lots of throwaway shots — if 1 in 100 is good, you're satisfied
Note: Street photography is a high-failure-rate genre. Shooting 100 frames and getting 1–2 good ones is considered a success. If you tend toward perfectionism, it can be stressful at first.
Core Street Photography Techniques Summary
The three most important things — see the full techniques page below for details.
Zone Focusing
Turn off autofocus and preset focus at 2–3 meters. When a subject moves into that range, press the shutter immediately. The traditional street technique for reducing focus time to zero.
Find Light and Shadow First
Find a narrow alley or window with strong incoming light, then wait for a person to enter that beam. This is the core methodology of Henri Cartier-Bresson.
Layered Composition
Place elements in the foreground, midground, and background. Far richer in storytelling than a simple single-subject shot. Look for narrow alleys, arches, and frames within frames.
See the Full Street Techniques Guide
Complete guide to the decisive moment, zone focusing, and layered composition
Recommended Gear for Street Photography
Smaller and lighter is better. Heavy gear disrupts natural moments.
35mm f/2 Prime
The standard focal length for street. Ideal for capturing a person along with their surroundings. Small, light, easy to carry all day, and well-suited for zone focusing.
Compact Mirrorless (e.g., Fujifilm X Series)
Smaller and less intimidating than a DSLR — draws less attention on the street. Excellent results from film simulation modes.
Smartphone (latest flagship)
The least threatening street tool. Nobody notices you're taking photos. Limited image quality, but more than enough for practicing moment capture.
Walk the Neighborhood for 30 Minutes and Shoot 50 Frames
- →Head out for a neighborhood walk with a camera or smartphone
- →First find spots with strong light and shadow, or strong color contrast
- →Wait at that spot for a person or element to enter, then shoot
- →After 50 shots, pick your 3 favorites at home
- →Upload the 3 chosen shots to AI for composition and light analysis
More Content to Explore
Last updated: April 2026