How to Take
Great Portrait Photos
Natural light, bokeh, and Eye AF — just these three things change everything about your portrait photography.
Questions you might have
Q. Why does a portrait feel ruined the moment the eyes are off by even 1cm?
→ People instinctively look at the other person's eyes first. If the eyes aren't sharp, the brain immediately judges 'this photo is out of focus.' Focus on the nose or ears is technically in focus but cognitively a failure.
Q. Why 85mm is the standard portrait focal length — can't I use 24mm?
→ Shooting close with a wide angle (24mm) creates perspective distortion — the nose enlarges and the face stretches. Above 85mm there's almost no perspective distortion, which captures faces close to their real proportions. For natural-looking faces, telephoto is the answer.
Light Direction
Where light hits the subject determines the mood of a portrait.
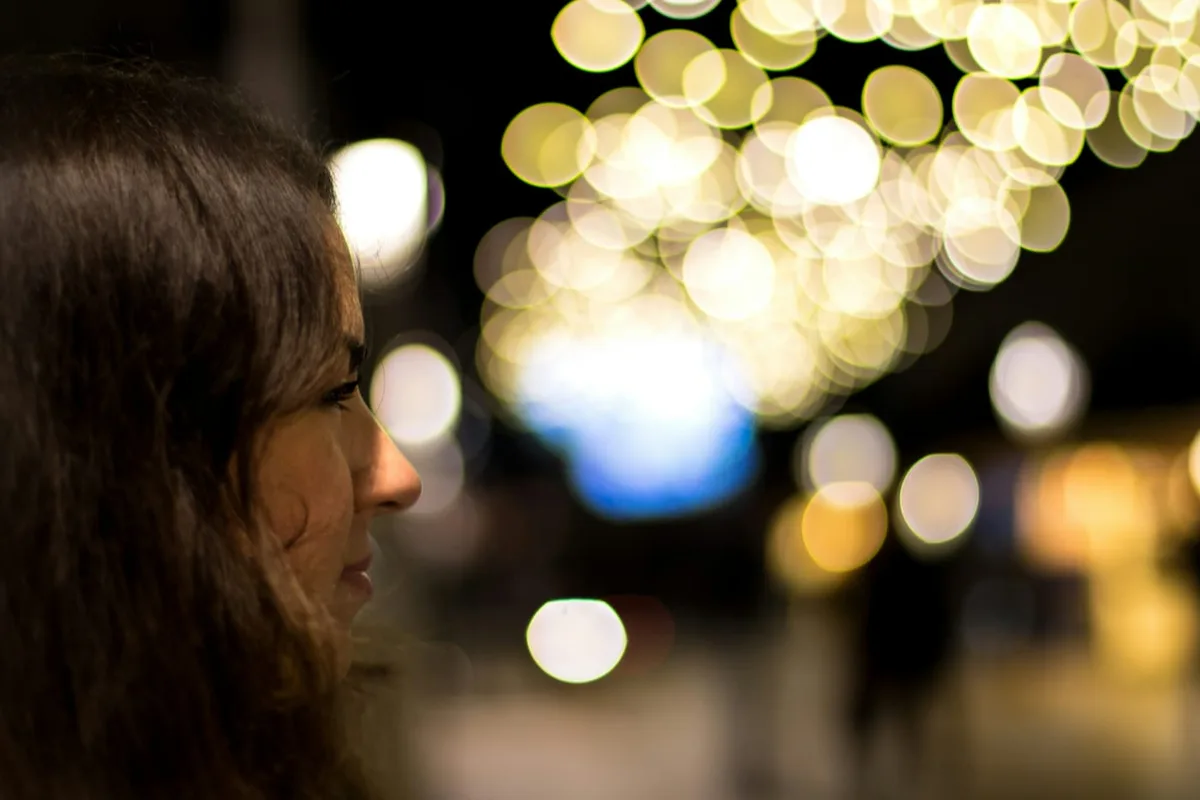
Background Blur (Bokeh)
The wider the aperture, the more telephoto, and the greater the distance between subject and background — the stronger the bokeh.
Focus on the Eyes
In portrait photography, focus must be on the eyeballs (the near eye).
Reading Light Brings Portraits to Life
You can shoot stunning portraits with natural light alone — no artificial lighting needed. Just understand light direction and time of day.
Golden Hour (1 hour after sunrise / 1 hour before sunset)
Warm, soft golden natural light. Shadows lengthen and skin tones look naturally beautiful. The optimal time for portrait photography.
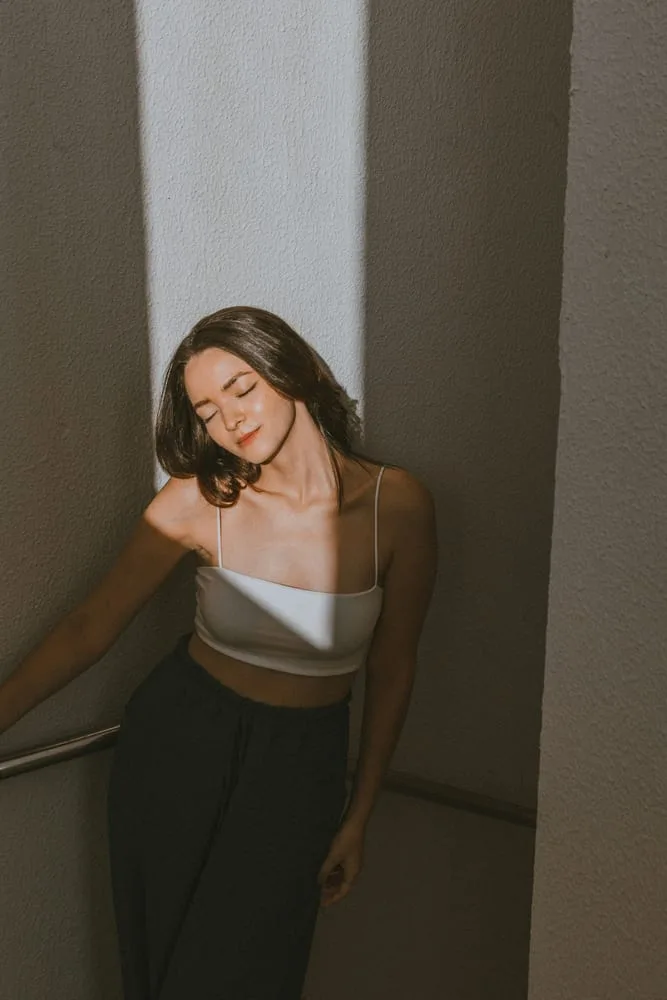
Window Side Light (Indoor Natural Light)
Place the subject next to a window on a sunny day for soft side lighting. A curtain to diffuse the light creates an even softer look.
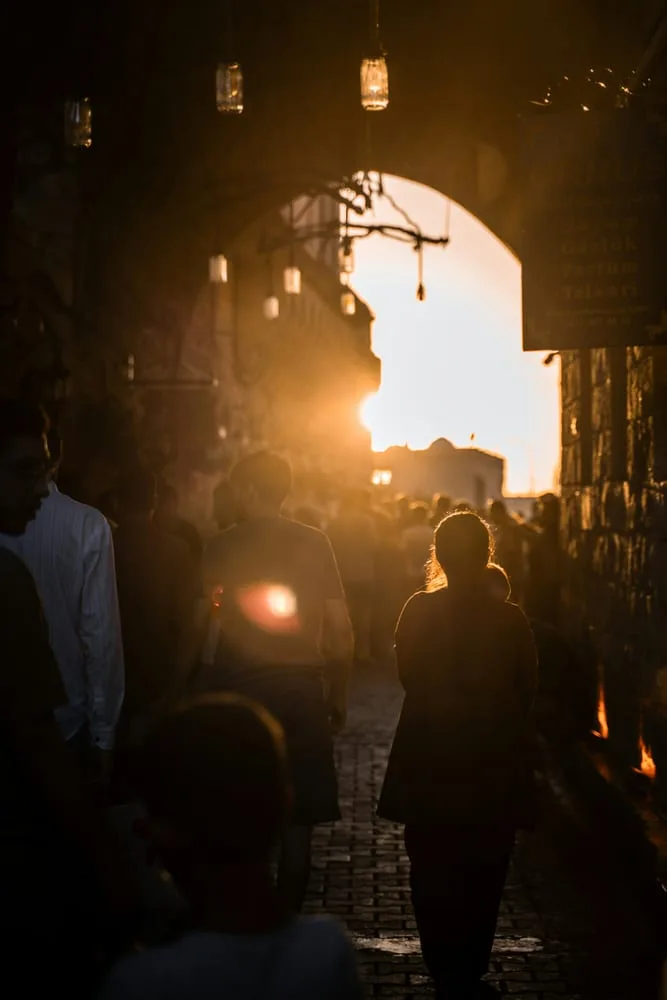
Backlight (Sun Behind Subject)
Creates a rim light outline around the subject for dramatic separation. Needs +1–+2 EV compensation. Lean into lens flare for an emotional feel.
Overcast Outdoors (Diffused Light)
Clouds act as a natural diffuser — even, shadow-free light. Skin renders naturally with lots of latitude for editing. Great for beginners.
When the camera meters automatically for backlight, the subject's face goes dark. Raise exposure compensation (EV) by +1 to +2, or use spot metering on the subject's face. Bouncing a reflector (even white paper) from below the face also reduces under-eye shadows.
Creating Background Blur (Bokeh)
Bokeh intensity is determined by three factors. Combine these three and you can create background blur with any camera.
Wider aperture (smaller f/ number)
f/1.4 > f/1.8 > f/2.8 in order of bokeh intensity. Most prime (single-focal-length) lenses open to f/1.8 or wider.
Effect ★★★★★Longer focal length (more telephoto)
The same f/2.8 produces more bokeh at 85mm than 50mm, and more at 135mm than 85mm. Standard portrait focal lengths are 85mm–135mm.
Effect ★★★★☆More distance between subject and background
Subject close, background as far as possible. The greater the distance between subject and background, the dramatically stronger the bokeh.
Effect ★★★★☆expand_moreAdvanced — Why Bokeh Shape (Orbs of Light) Changes
The number of aperture blades determines bokeh shape. Nine or more blades produce near-circular orbs; five or six blades create polygonal light shapes. Premium lenses have more aperture blades and produce rounder bokeh.
Lens design (spherical vs. aspherical elements) also affects whether bokeh edges look harsh or smooth. This is why two f/1.8 lenses can render bokeh very differently.
Smartphones have small sensors so natural bokeh is weak. Instead, use Portrait Mode — the AI recognizes the background and applies blur. Or shoot very close (20–30cm) from the subject, almost like a macro shot, for natural background blur.
Portrait AF Settings — Focus on the Eyes
Supported by most recent Sony, Canon, Nikon, Fujifilm mirrorless cameras. The camera automatically finds and tracks the eyes.
Supported by most recent Sony, Canon, Nikon, Fujifilm mirrorless cameras. The camera automatically finds and tracks the eyes.
Sony: Menu → AF/MF → Subject Recognition AF → Human
Canon: Menu → AF → Subject Tracking → Portrait Priority
Nikon: Menu → AF → Subject Detection → Portrait
For cameras without Eye AF, set the AF point directly on the eye, or use the half-shutter lock method.
- 1. Set AF point to center
- 2. Aim the center at the eye and half-press the shutter
- 3. Recompose the frame while holding focus lock
- 4. Press shutter fully
At f/1.4 with an 85mm lens, depth of field is only a few centimeters. Even with perfect eye focus, the nose and ears may be blurred. When framing two people together, stop down to f/2.8 or more.
expand_moreAdvanced — Back Button AF for Faster Shooting
Assigning AF to a button on the camera back (usually AF-ON) instead of the half-shutter separates focusing from shooting. Most professional photographers use this setting.
How to set up: Menu → Button customization → Assign AF Start to AF-ON button → Disable half-shutter AF. It feels awkward at first, but once you're used to it you'll shoot much faster.
Posing Direction Basics
"Stand naturally" is the most awkward direction. Request specific actions instead.
- "Flip your hair to one side"
- "Look at something far away"
- "Tilt your chin down slightly"
- "Touch your sleeve once"
- "Stand naturally" (too vague)
- "Smile please" (forced awkward smile)
- "Strike a pose" (how?)
- "Make yourself comfortable" (makes it worse)
Camera Angle and Face Shape
Recommended Portrait Photography Gear
Fast prime lenses are the heart of portrait photography. Choose a combination that fits your budget.
The most affordable way to experience bokeh. Canon RF 50mm f/1.8, Sony FE 50mm f/1.8, Nikon Z 50mm f/1.8 — all are best-in-class value.
Why: The 50mm focal length on full-frame closely matches the human eye's field of view, capturing faces naturally without distortion.
The standard focal length for portrait photography. At 85mm, perspective distortion is almost absent, capturing true facial proportions.
Why: The working distance (~1–2m) is psychologically comfortable for the subject, while delivering strong bokeh and natural perspective simultaneously.
Professional portrait lenses. Dramatic bokeh at f/1.4 with each lens's unique color rendering. Commercial shoot standard.
Why: About 1/3 stop brighter than f/1.8 with even smoother bokeh. Portrait rendering meets commercial advertising and magazine standards.
Shoot 3 Window Side-Light Portraits
- →On a sunny morning, position a subject (family, friend, or even a doll) next to a window
- →Set aperture to f/1.8–f/2.8 (or smartphone Portrait Mode)
- →Focus on the eyes and take 1 shot each from 3 angles (front, side, slight high angle)
- →Upload your shots to AI and receive feedback
More Content to Explore
마지막 업데이트: 2026년 4월