One Tap That Changes Everything —
Smartphone Basics
Without any special app or setting, one habit change can completely transform the sharpness and exposure of your photos.
Q. The Common Question
"My phone has a high megapixel count — why are my photos still blurry?"
In most cases it's not a focus problem — it's camera shake. Even a tiny movement at the moment of pressing the shutter will blur a photo regardless of megapixel count. Changing your grip technique and shutter timing will fix it immediately.
Q. What Actually Makes the Biggest Difference
"Tap to focus — everyone knows that, right?"
Tapping to focus is one thing, but locking focus and exposure independently is something many people miss. On iOS, tap then drag the sun icon. On Android, use the AF/AE Lock button. This one technique transforms shots in backlit or dark conditions.
A Steady Grip That Eliminates Shake
The most common cause of ruined smartphone photos is camera shake. Change your grip and sharpness improves instantly — no settings needed.
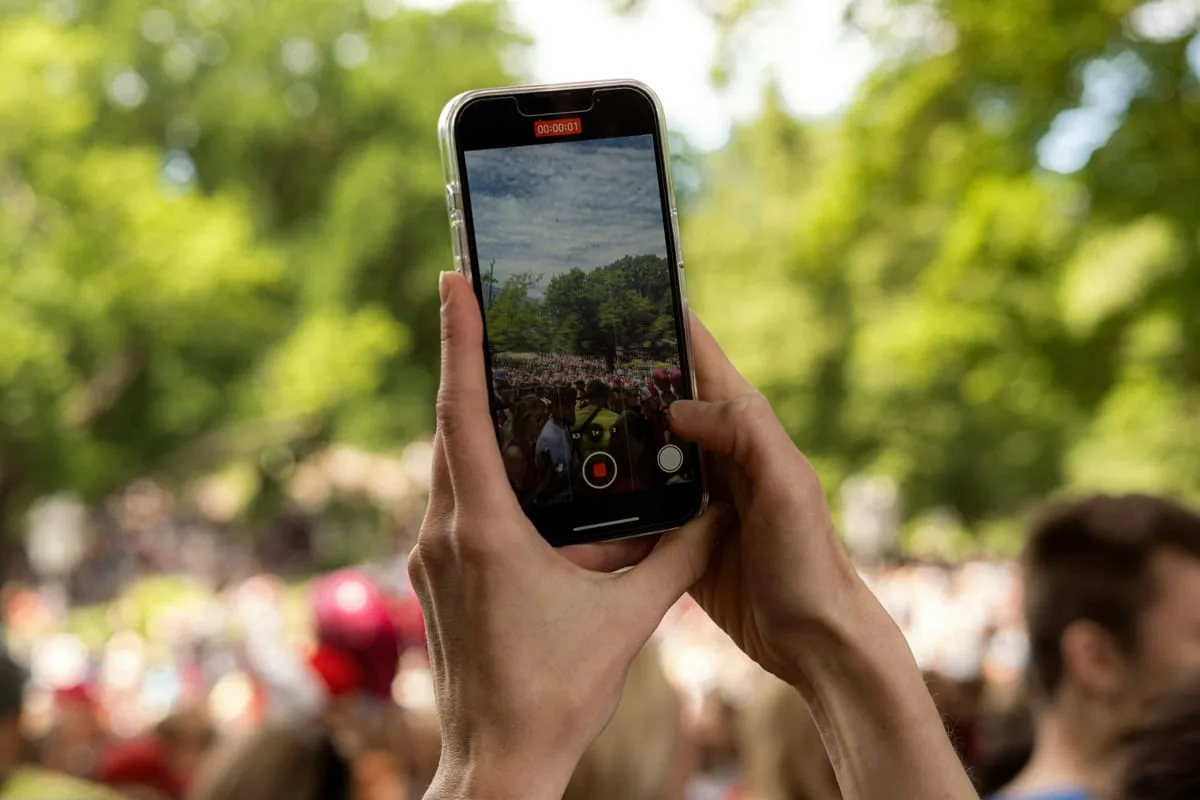
Two-Handed Grip
One hand supports the phone, the other thumb taps the screen. This reduces shake by 60%+ compared to one-handed shooting.
Elbow Lock
Tuck your elbows against your body, or brace against a wall or railing for a makeshift tripod effect.
Shutter Timing
Try the volume button instead of tapping the screen shutter. Your finger doesn't touch the display, reducing shake.
Breath Control
Exhale halfway, pause briefly, then press the shutter. A technique used by camera photographers too.
Focus Lock — AF/AE Lock
Tapping and locking are different. Once locked, focus stays even if the subject moves or you reframe the shot.
- 1.Long-press the subject you want to focus on (1 second or more)
- 2.An "AE/AF Lock" yellow banner appears at the top of the screen
- 3.You can now freely reframe the shot while focus stays locked
- +.After locking, drag the ☀️ icon up or down to adjust exposure independently
- 1.Long-press the subject — AF/AE Lock indicator or lock icon appears
- 2.In Pro Mode, use MF (Manual Focus) to lock focus distance directly
- +.UI varies by model — try a long-press first on your device
When is focus lock needed?
Backlit portraits (separate face focus from sky exposure), food photos (lock focus on the plate while blurring the background), or pre-locking focus for a moving subject waiting to enter the frame.
Exposure Control — Brightness in Your Hands
Your smartphone camera sets auto exposure based on the average brightness of the entire frame. When that auto value is wrong, you need to adjust it manually.
Backlit Portrait
Face comes out too dark
→ Tap the face → drag ☀️ upward to brighten
Snow / White Wall
White subject looks grey
→ Tap, then raise exposure +1 to +1.5
Night / Dark Interior
Whole image comes out hazy-bright
→ Tap a dark area → lower exposure
Grid Composition — Horizontal & Rule of Thirds
Turn on the grid in your camera app settings to display a 9-section overlay. Those lines are decisive for framing and keeping your horizon straight.
How to turn on the grid
- • iPhone: Settings → Camera → Grid
- • 삼성: Camera app → Settings → Shooting methods → Grid lines
- • 구글 픽셀: Camera → Settings → Grid type → 3×3
Rule of Thirds
Place your subject at the intersection points, not the center. For portraits, use an intersection; for the horizon, align with the upper or lower third line.
Leveling the Horizon
When shooting the sea, horizon, or buildings, align with the horizontal grid lines. A crooked horizon can be fixed in editing, but doing it in-camera avoids quality loss.
expand_moreLearn more — Burst Mode · Timer · RAWAdvanced
Burst Mode (Continuous Shooting)
Hold down the shutter button to take burst shots. Useful for capturing moments with children, pets, or anything that moves unpredictably. Pick the best shot and delete the rest.
Using the Self-Timer
A 2-second timer eliminates the hand shake from pressing the shutter. Combined with a tripod, it's very effective for night shots and long exposures.
RAW Shooting
iPhone 12+ (ProRAW), Samsung S series, and Pixel support RAW file saving. Files are 5–10× larger than JPEG, but offer far more editing latitude. Edit directly in Lightroom Mobile.
Today's Mission
Use All 3 Basics in One Shot
- 1Turn on the grid and head to a window or outdoors
- 2Long-tap your subject to lock AF/AE
- 3Drag the ☀️ icon to raise exposure slightly
- 4Place your subject on a grid intersection point
More Content to Explore
마지막 업데이트: 2026년 4월