Not Magic —
How AI Camera Works
Knowing how Night Mode, Portrait Mode, and AI processing actually work helps you use them better — and predict when they'll fail.
Q. How It Works
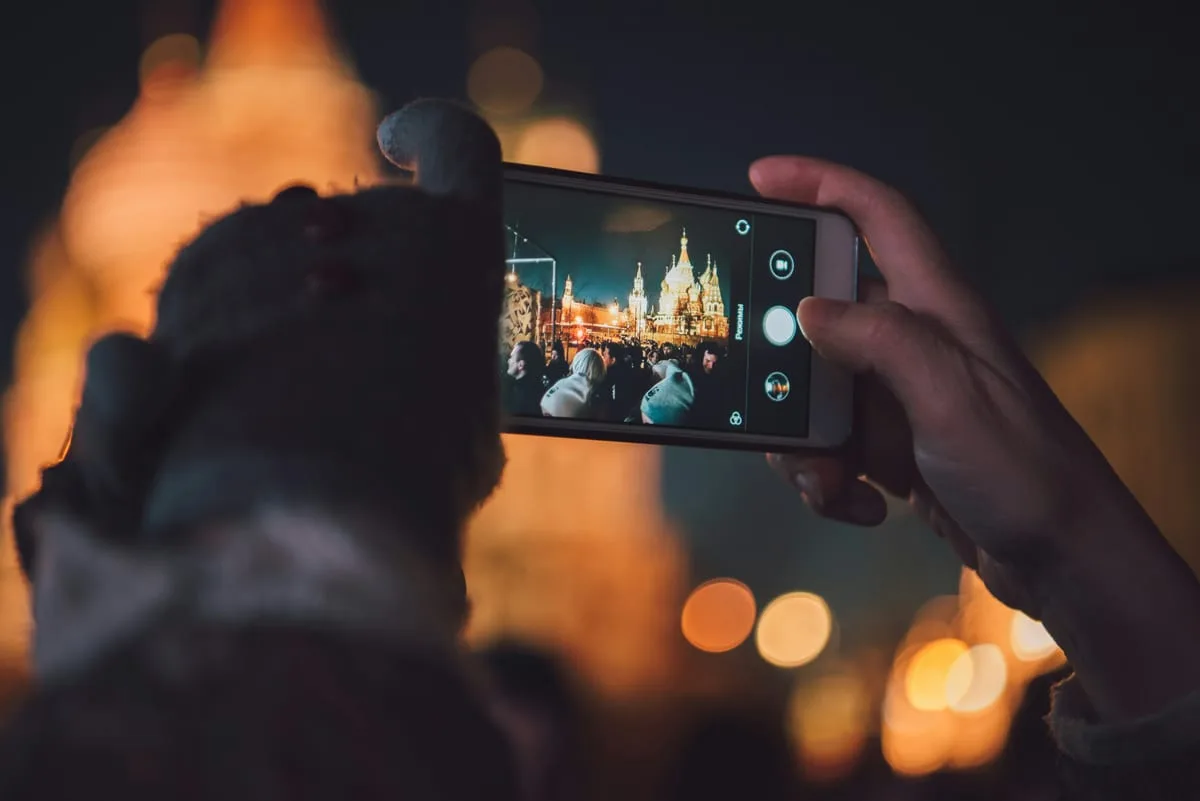
"How does Night Mode actually brighten a dark photo?"
It's not simply raising the ISO. The camera takes 5–15 frames continuously over 0.5–4 seconds, then averages out the noise across frames while stacking the light information. The result is a clean, bright photo — as if shot at a low ISO. This technique is called multi-frame HDR compositing.
Q. What Many People Don't Know
"AI processing doesn't always help — sometimes you're better off disabling it"
AI features like skin smoothing, AI color boost, and sky replacement are well-intentioned, but they can compromise the realism of your photo or reduce your editing flexibility later. If you plan to edit yourself — especially before shooting RAW — disabling AI processing is often the better choice.
What Is Computational Photography?
The core concept behind modern smartphone cameras. Software overcomes the physical limits of the lens and sensor.
Traditional Camera vs. Smartphone AI Camera
Traditional Camera
- • Image quality determined by physical lens & sensor
- • Captures a single frame at the moment of shooting
- • Saves the original without real-time processing
- • Post-processing is done after the fact
Smartphone AI Camera
- • Captures multiple frames the instant you press the shutter
- • AI composites and corrects in real time
- • Applies HDR and noise reduction simultaneously
- • Final photo generated within 0.1 seconds
Auto HDR Compositing
Captures bright and dark areas separately and merges them — preserving sky and shadow detail simultaneously.
Noise Reduction
Takes multiple shots of the same scene and statistically removes noise. Most effective in dark environments.
Depth-of-Field Simulation
Captures at multiple focus distances to keep the subject sharp while blurring the background — the basis of Portrait Mode.
Night Mode — Step-by-Step
Understanding how Night Mode works also reveals its limitations.
When Night Mode works well
- • Stationary subjects
- • Steady shot — on a tripod or propped up
- • Dark indoor interiors
Night Mode limitations
- • Moving subjects → ghosting / motion blur
- • Strong wind (leaves moving)
- • Phone moves during capture → full blur
AI Processing Features
Modern smartphones come with various AI corrections enabled by default. Know which ones are active.
Skin Smoothing (Beauty Mode)
Can disableAI softens skin texture and brightens the face.
Effect: Natural-looking skin — can look plastic-like when overdone
Location: Applied by default in selfie / portrait mode
AI Color Boost
Can disableAuto-enhances skies bluer, grass greener, food more vivid.
Effect: Great for SNS — interferes if you want true-to-life color
Location: Enabled by default on most devices
Auto HDR
Can disableMulti-exposure compositing to retain highlights and shadows simultaneously.
Effect: Effective in backlit / high-contrast scenes — can look unnatural on moving subjects
Location: Automatic mode in the default camera app
AI Eraser (Magic Eraser)
AI removes unwanted objects from the background and fills in the area.
Effect: Effective for simple object removal — can look unnatural on complex backgrounds
Location: Gallery editing feature (Pixel, Samsung)
When to Shoot with AI Off
AI processing doesn't always help. In these situations, shoot as naturally as possible.
When you plan to edit in RAW
Adding corrections on top of AI-processed JPEG causes double color shifts. RAW files capture the original without AI processing, giving full editing latitude.
When you want natural-looking skin
Disabling Beauty Mode preserves skin texture. Especially for elderly subjects or documentary-style images, AI retouching gets in the way.
AI sky color looks artificially vivid
Some devices' AI color boost makes the sky excessively blue. Find 'Photo Style' or 'Color Enhancement' in settings and reduce or disable it.
HDR is smearing motion
Multi-exposure HDR creates ghosting on fast-moving subjects. Disable HDR in Pro mode and shoot with a single exposure.
expand_moreLearn more — Silicon Photonics · Sensor Size · ToF SensorsAdvanced
Why Smartphone Sensors Can't Beat DSLRs
Light-gathering ability is proportional to physical sensor area. A full-frame DSLR sensor (36×24mm) is more than 25× the area of a smartphone sensor (~7×5mm). This is a physical limit that software cannot overcome. AI can reduce noise and compensate, but the fundamental gap in dark environments remains.
ToF (Time of Flight) Sensors
Found on some smartphones, a ToF sensor fires infrared light and measures the return time to calculate the precise distance to the subject. This improves background separation accuracy in Portrait Mode and is used for 3D face recognition.
Apple ProRes & Log Video
Available on iPhone 15 Pro and later, ProRes and Log formats preserve maximum information for color grading. Like RAW vs. JPEG for photos, Log video gives far more flexibility in post-production.
Today's Mission
AI ON vs OFF — Compare with the Same Scene
- 1Find a dark indoor or outdoor evening scene
- 2Shoot with Night Mode ON (default camera app)
- 3Turn Night Mode off, or shoot at the same exposure in Pro Mode
- 4Compare noise, brightness, and sharpness between the two shots
More Content to Explore
마지막 업데이트: 2026년 4월